As you all know Silverlight 5 released with unrestricted access in InBrowser mode which gives full control to the Silverlight developers in the client machine. This post is to describe what are the changes you need to do at the server side as well as client side to leverage the trusted application feature.Try HostForLife.eu, only with € 3.00/month, you can get a reasonable price with best service. This topic contains only brief information about why you must use Silverlight 4. So, if you want to be more familiar with Silverlight 5, you should try HostForLife.eu

Server side
- Make the IB elevated from project properties
- Sign the xap using certificate.
Client side
- Install the cert into “trusted publishers”
- Change the reg key “HKEY_LOCAL_MACHINE\SOFTWARE\Microsoft\Silverlight\AllowElevatedTrustAppsInBrowser” to
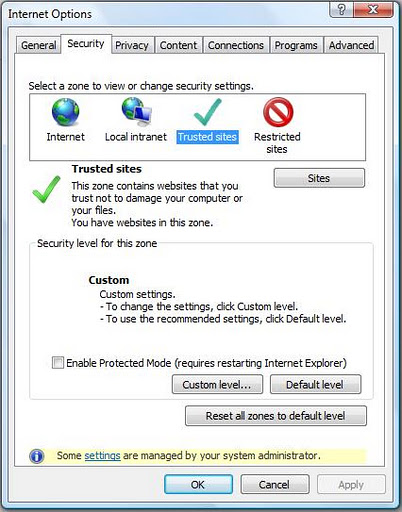
-The “Protected mode” of browser should be turned off for the zone.
The above steps are mainly for Silverlight 4 to Silverlight 5 conversion and want to get the full trust support. If you just upgrading your projects there is no need to do above items. Just open in Visual Studio 2010 after installing the SL 5 tools.It will show the conversion wizard and just follows that. One thing you need to make sure is the reference path to Sl 5 assemblies.
Steps to setup Silverlight 5 application to have unrestricted access in IB using elevated trust mode
Ok.Now lets look at details of how we can create new SL project which access a file from c:\ in the In-Browse mode.First as usual create a Silverlight 5 Application. Then place a Button inside and wire the Click event handler.Write the below code in the handler to write a file to c:\
private void btnWriteToCDrive_Click ( object sender, RoutedEventArgs e )
{
File.WriteAllText(@"c:\FromSL5.txt","This is written from Silverlight 5 web application in InBrowser mode");
}
Giving Elevated trust to SL 5 application
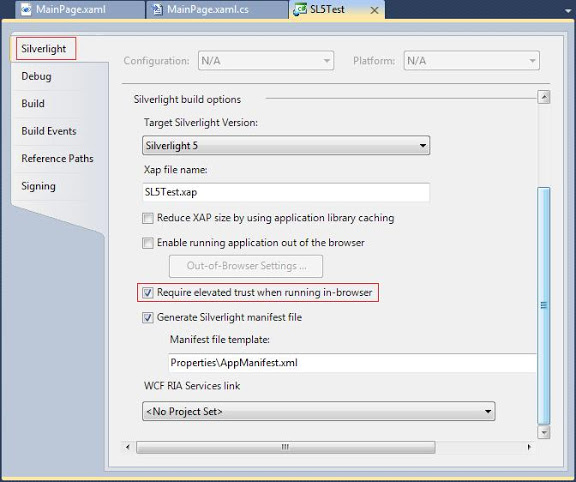
Just to go to the Silverlight 5 project properties and in the Silverlight tab check the “Require elevated trust when running in-browser” check box.See the below screen shot for reference.
Signing the xap
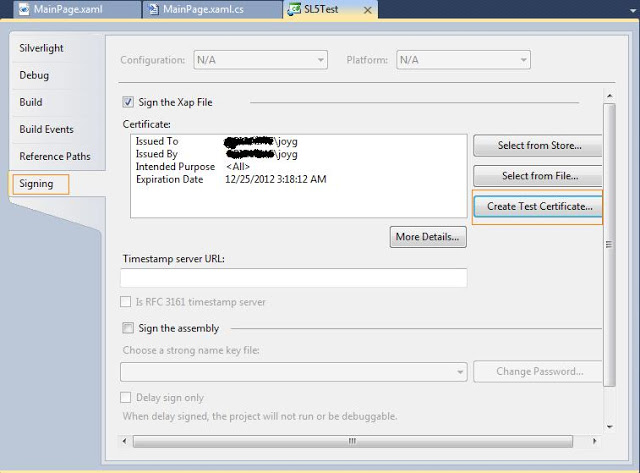
Next step is to sign the xap file with a certificate. Just goto Silverlight project properties and check the “Sign the Xap File” check box.If you don’t have any certificate just create a new one using the “Create Test Certificate” button.
Disable the browser protected mode
The above changes are mainly for the server side. You need to do some at client side as well.The first one is to disable the protected mode in browser.Goto the internet options and disable it.
Change registry entry
As mentioned above just change the registry entry as it is.If you cant find the key just add a DWORD and set to 1. Still I am not sure how this step is carried out in other platforms such as MAC and Linux. That’s it.Now run your application.It will create a file inside c:\ from in browser.Just uploaded the sample by removing the certificate as it give some information about my company laptop.