Today, in this article let's play around with another interesting concept of Telerik RadControls.
What is RadCoverFlow?
In simple terms "It enables to provide a rich GUI interface which navigates through a group of images.".
Step 1: The complete code of MainPage.xaml looks like this:
<UserControl x:Class="RadCoverApplication.MainPage"xmlns="http://schemas.microsoft.com/winfx/2006/xaml/presentation" xmlns:x="http://schemas.microsoft.com/winfx/2006/xaml"xmlns:d="http://schemas.microsoft.com/expression/blend/2008" xmlns:mc="http://schemas.openxmlformats.org/markup-compatibility/2006"xmlns:telerik="http://schemas.telerik.com/2008/xaml/presentation"mc:Ignorable="d" d:DesignWidth="640" d:DesignHeight="480">
<Grid x:Name="LayoutRoot">
<telerik:RadCoverFlow Margin="126,12,108,61" Name="radCoverFlow1" OffsetX="0"OffsetY="40"CameraViewpoint="Top"DistanceBetweenItems="20"DistanceFromSelectedItem="5"
RotationY="56"IsReflectionEnabled="True"ItemScale="0.60">
<Image Source="pics/e6e22af6f3224593a6c658b3d3f7a1fd.jpg" Width="400" Height="120"></Image>
<Image Source="pics/Microsoft-.NET-logo-white.png" Width="400" Height="120"></Image>
<Image Source="pics/microsoft-windows-8.jpg" Width="400" Height="120"></Image>
<Image Source="pics/microsoft (1).jpg" Width="400" Height="120"></Image>
<Image Source="pics/Microsoft.jpg" Width="400" Height="120"></Image>
</telerik:RadCoverFlow>
</Grid>
</UserControl>

Step 2: The complete code of MainPage.xaml.cs looks like this:
using System;
using System.Collections.Generic;
using System.Linq;
using System.Net;
using System.Windows;
using System.Windows.Controls;
using System.Windows.Documents;
using System.Windows.Input;
using System.Windows.Media;
using System.Windows.Media.Animation;
using System.Windows.Shapes;
namespace RadCoverApplication
{
public partial class MainPage : UserControl
{
public MainPage()
{
InitializeComponent();
}
}
}
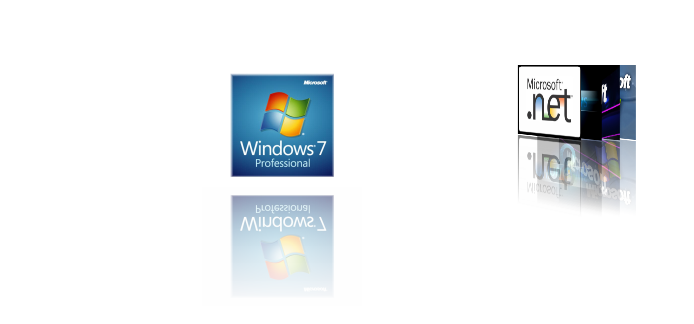
Step 3: The output of the application looks like this:
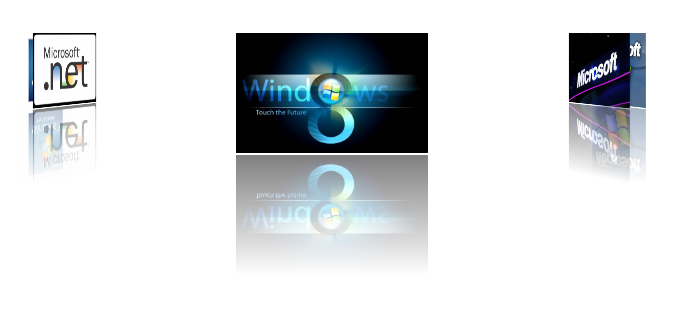
Step 4: The output of the left moved pics application looks like this:

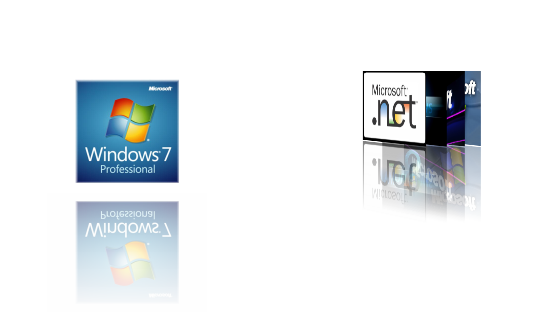
Step 5: The output of the right moved pics application looks like this:
Hope this article is useful!